
In order to replace the power jack in your laptop you’ll have to remove the jack from the motherboard as I explained in the previous post: Replacing DC power jack.
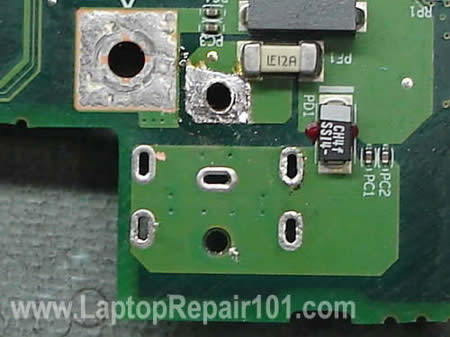
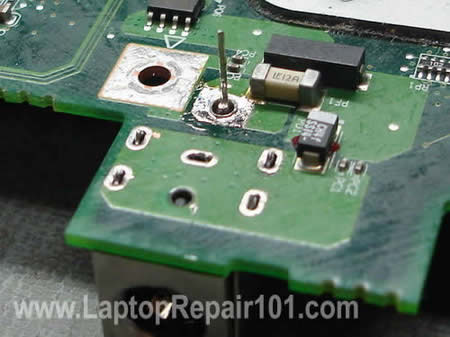
While removing the jack you can accidentally pull out the internal copper coating (I’ll call it a sleeve) from the inside of the “+” terminal as it shown on the picture below.
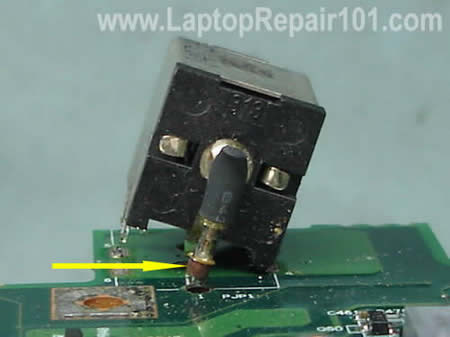
The internal copper sleeve has been removed and cannot be installed back. If you solder the power jack back on the motherboard without this sleeve it might work but the connection between the “+” lead and motherboard will not be reliable.
In the following guide I explain how to fortify a damaged power jack connection. You can use this repair technique in some laptops with similar power jacks.

You can remove the copper sleeve from the power jack with a soldering guy and through it away. You cannot install this sleeve back into the terminal on the motherboard.

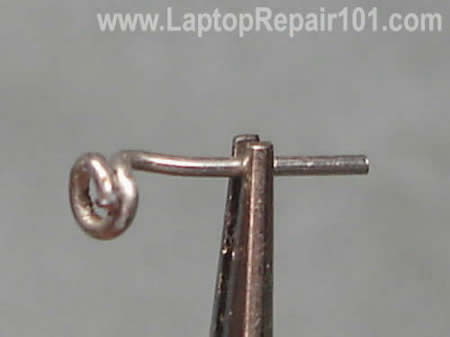
Find a small resistor or capacitor with thin leads. Cut off one of the leads. I’m going to use it to fortify the connection between the power jack and motherboard.
Shape the lead as it shown on the picture below.
Put the lead on the “+” connector on the power jack.
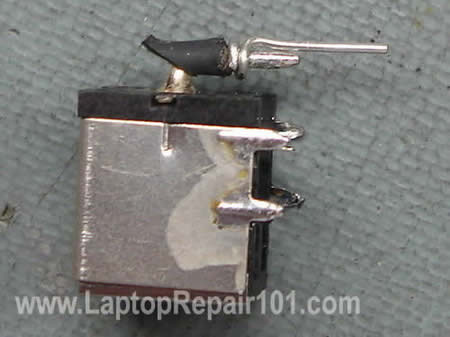
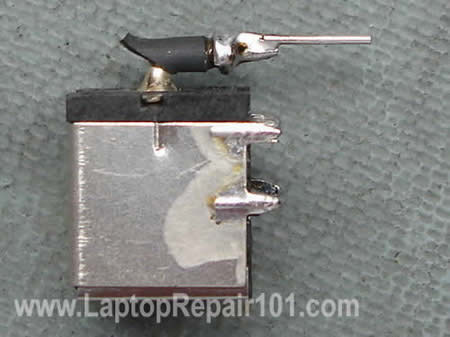
Solder the lead to the power jack.
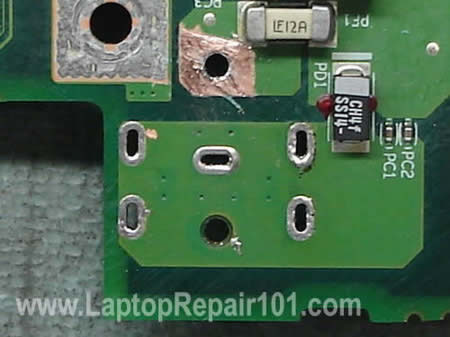
Now I’m going to modify the “+” terminal on the PCB. Even though on the picture below it looks normal, it’s damaged inside (the internal coating has been removed).

Carefully scrape off green varnish around the whole on the “+” terminal on the PCB. You can use a small flathead screwdriver.
If the whole is not big enough for your modified power jack, you can widen it with an awl.
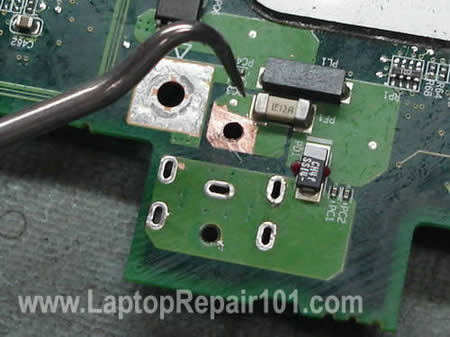
As you see on the picture below the whole on the terminal has been widened. Apply a fresh coat of solder on the clear area of the trace.
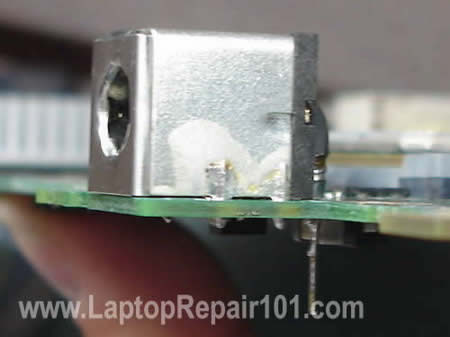
Install the power jack assembly on the motherboard. Make sure there is no gap between the jack and motherboard.
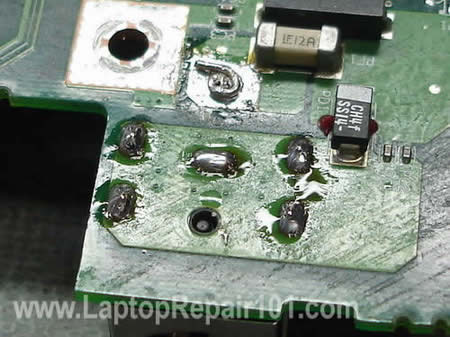
Here’s a view from the top side of the PCB.
Solder all pins except the modified “+” pin.
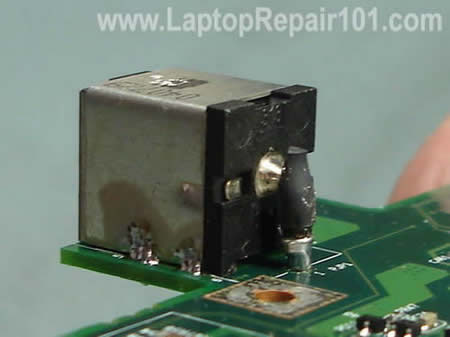
Now, when the power jack is secured, you can shape the lead as it shown on the picture below.
Solder the lead to the terminal. Remove excessive flux with an old tooth brush soaked in 99% alcohol.
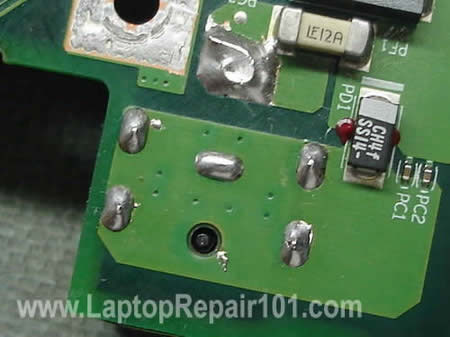
Here’s a view from the bottom side of the motherboard.
Be very careful. Doing this modification you can damage the motherboard and make it unusable. Proceed on your own risk.
No comments:
Post a Comment